
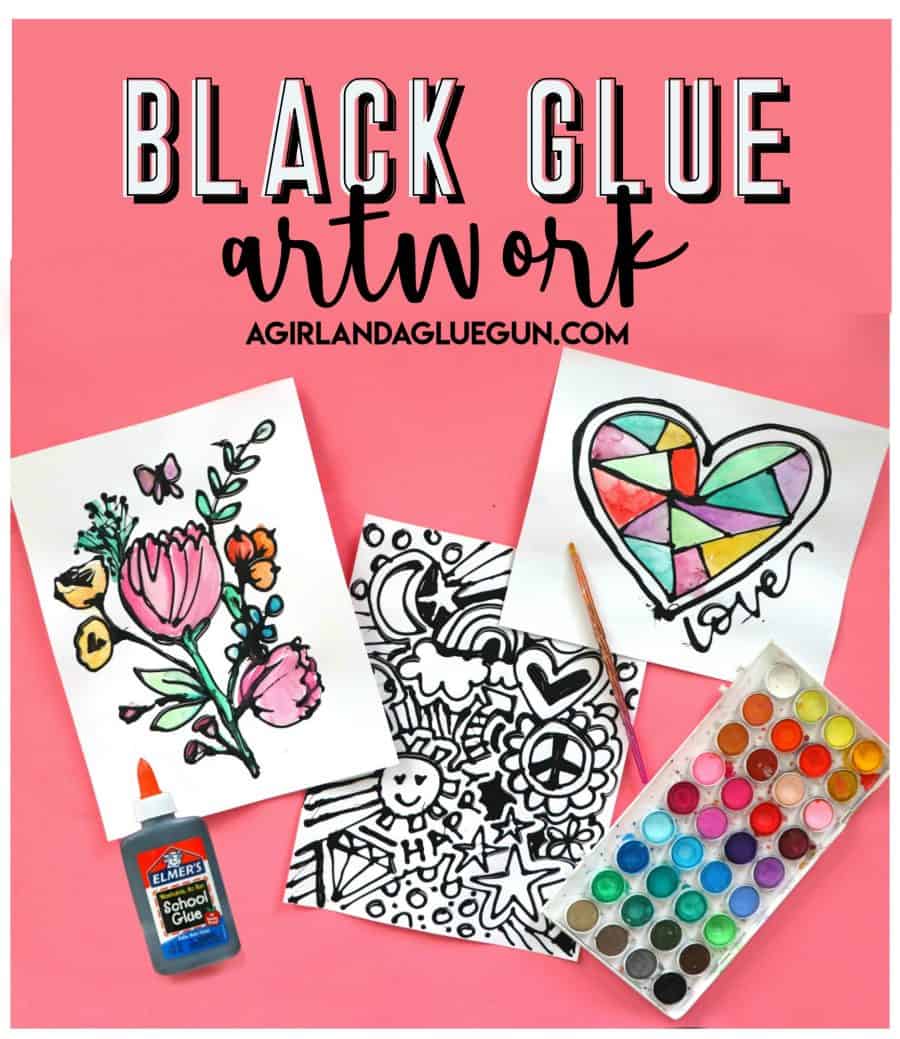
Check out this black glue art project! This Kid’s craft is so addicting–even you will want to get in on the action!

If you don’t know what black art is- you are in luck! Because I am going to show you step-by-step how to do it! This project is going to be a big hit to so make sure you save this because you and your kids are going to want to make these again and again!
This one is a two-parter! You get to draw the picture. Let it dry and then come back and color! Two projects in one!

This project is part of my Kid’s Craft camp! Make sure to click on the image to see all 50 craft ideas!
Supplies to make black glue art
- Elmer’s glue
- Black Paint
- Watercolor
- Paper (I prefer cardstock)
- Paint brush

How to create black glue
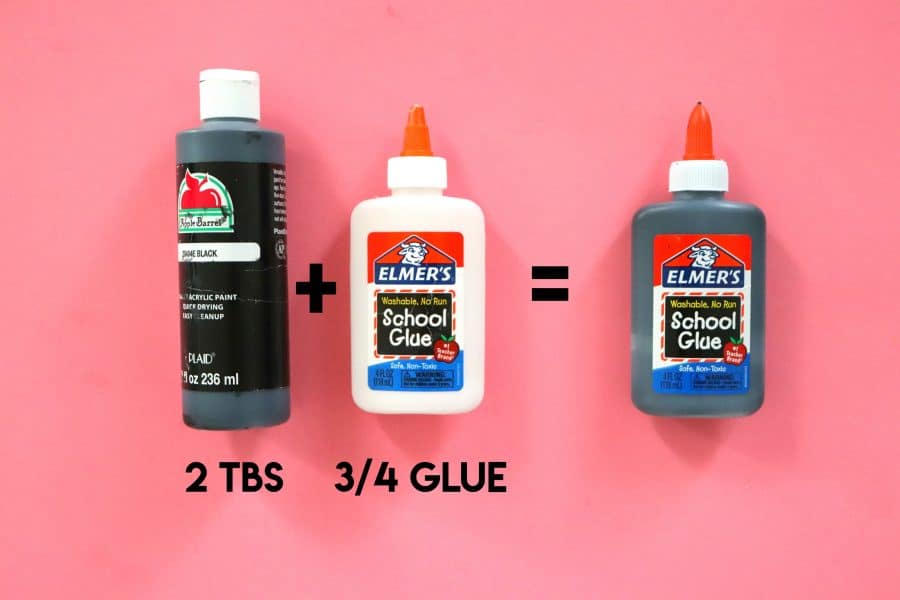
Black glue is the key to create these fun pictures! The two main ingredients are acrylic paint and elmers’ glue!
You don’t want a full bottle of glue. I used the glue leftover from our salt painting. It was about 3/4 full. It’s easier to shake when there is less glue!

You squeeze in two big squirts of acrylic paint. Put the lid back on and shake shake shake!

You can also put a skewer down inside and stir if you can’t get it blended enough.

You would think that the black paint and white glue would make gray–but it stays black!
FUN TIP: Try different colors of paint!
Black Glue artwork
Then you get to draw again! Think black velvet art or stained glass art! If you want to get the stained glass look- draw a basic shape and then add some lines inside to break it up and make it look geometric.
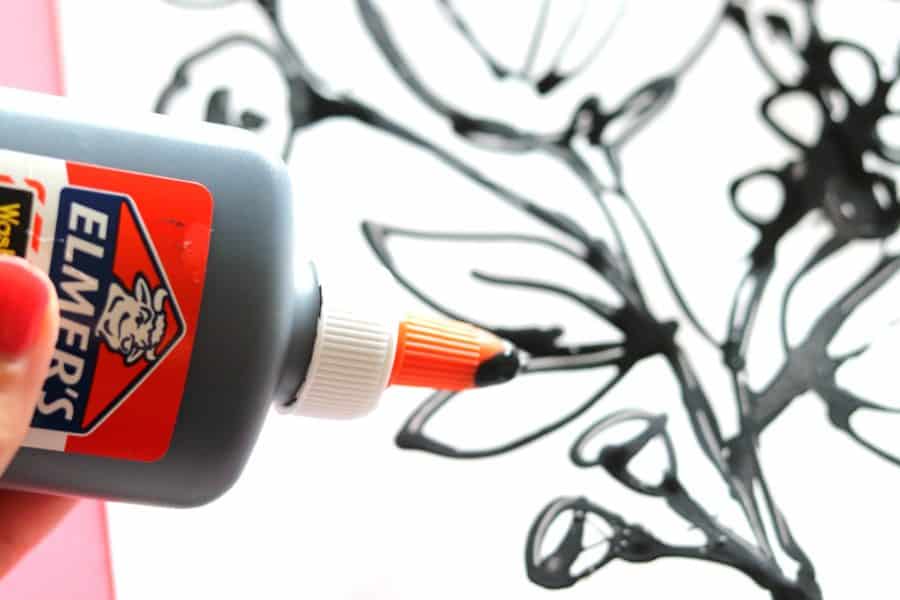
This part is so fun! It’s like drawing with puff paint!
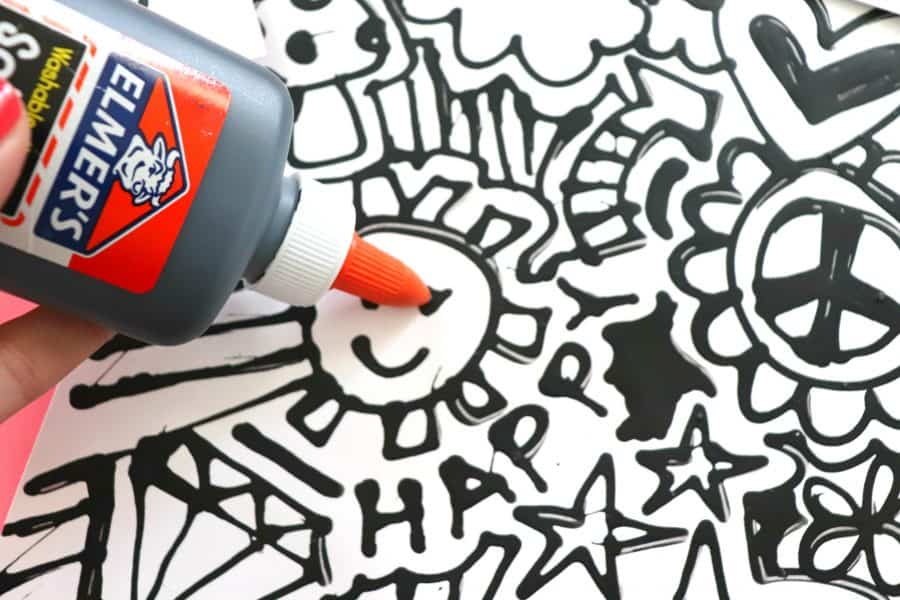
You can print out pictures and outline them if you don’t want to freehand a picture! I’m using the free printables found on my bean art project!

Let dry.
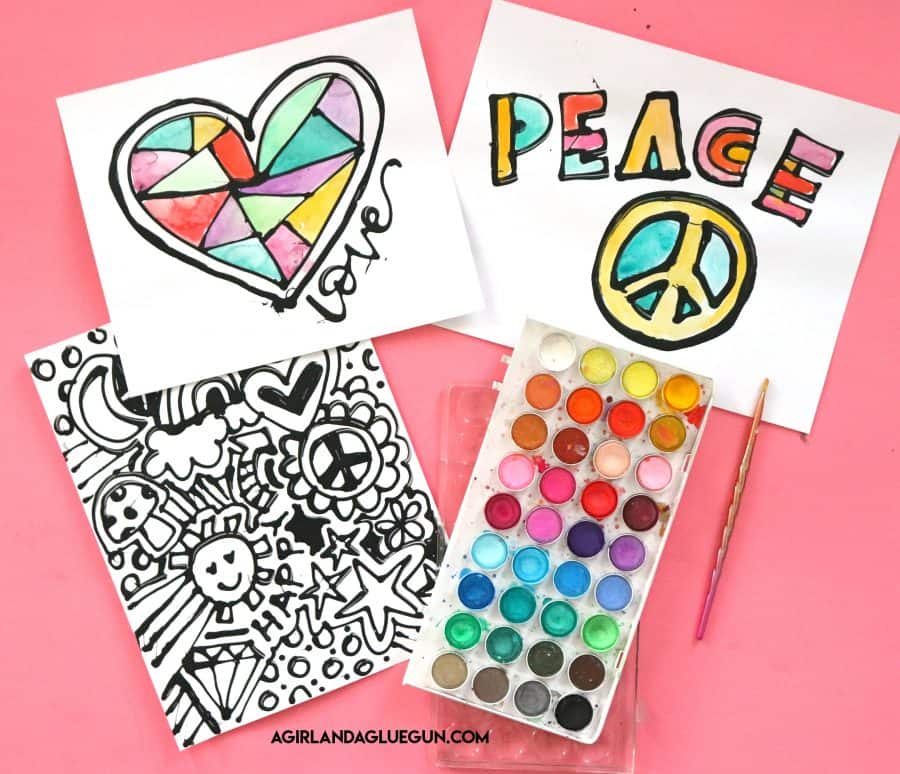
Then you are going to let it dry! Mine took 4-5 hours just sitting on the table. It can take longer if you have a picture with large glue blobs! You can put it outside in the sun or by a fan to speed up the process! After it dries- it’s not as puffy. It still has a lip but is not as puffed up as when you originally started!
Paint
Once it’s dry, it’s time to color it in! I like to use watercolor! You can use markers or crayons as well. But the watercolor looks the most like stained glass!


SAVE FOR LATER:
Too busy to get crafting today? No problem! Pin this post to remind yourself about this project later! Sharing my projects helps me reach more people, allowing me to continue sharing free content!

The BEST kid crafts and activities
and when I say kids, I mean kids of all ages!
- black glue art
- salt art
- hot rocks
- Yarn bracelets
- DIY window clings with puff paint
- Play dough activity mats
- Melted crayon art
- magic wallet
- Learn to make black scratch paper
- Melted Crayon Suncatcher
- Pressed Flowers Jar
- Bleeding Tissue craft
If you are looking for more fun kids’ crafts- my craft camp has two weeks full of fun projects that you will love to do as well!
I also have a fun video of my flower art on instagram! Come follow along (agirlandagluegun)
Wendy says
Thank you for doing the craft stuff with us my kids and I love them